 Scenario of a developer starting a blog
I’ve been thinking about starting a blog for a while now and I was procrastinating quite a bit :D. But, I finally did it and here I am writing my first ever blog post. Suprisingly enough, it will be about my experience setting up my blog and how you can do it too :D.
Scenario of a developer starting a blog
I’m a progammer. I’ve always wanted to have a personal website to showcase my projects and share my thoughts. I’ve looked into various blogging platforms like Wordpress, Medium, Substack, and Ghost. But, I chose Github Pages with Jekyll because I wanted to have:
Did I convince you? OK, now let’s break down the steps to setup your blogging site.
This step is to quickly browse through the various Jekyll themes available on various websites and pick one that fits your taste
Few sites where you can grab these templates:
I personally picked the Chirpy theme since it fits my expectations and it has a Dark theme :D.
Once you pick the Jekyll theme, it’s time to host it on Github Pages. The theme you picked usually comes with a set of instructions to configure and the instruction varies between different themes.
For Chirpy theme, the instructions are as follows:
<your-gh-username>.github.io<your-gh-username>.github.iobundle install to install the required gems._config.yml as needed. Some of them are typical options.
url is the address of your websiteavatar is the profile picture in the sidebartimezone is used to display the date and time of your postslang is the language of the sitebundle exec jekyll s to start the local server.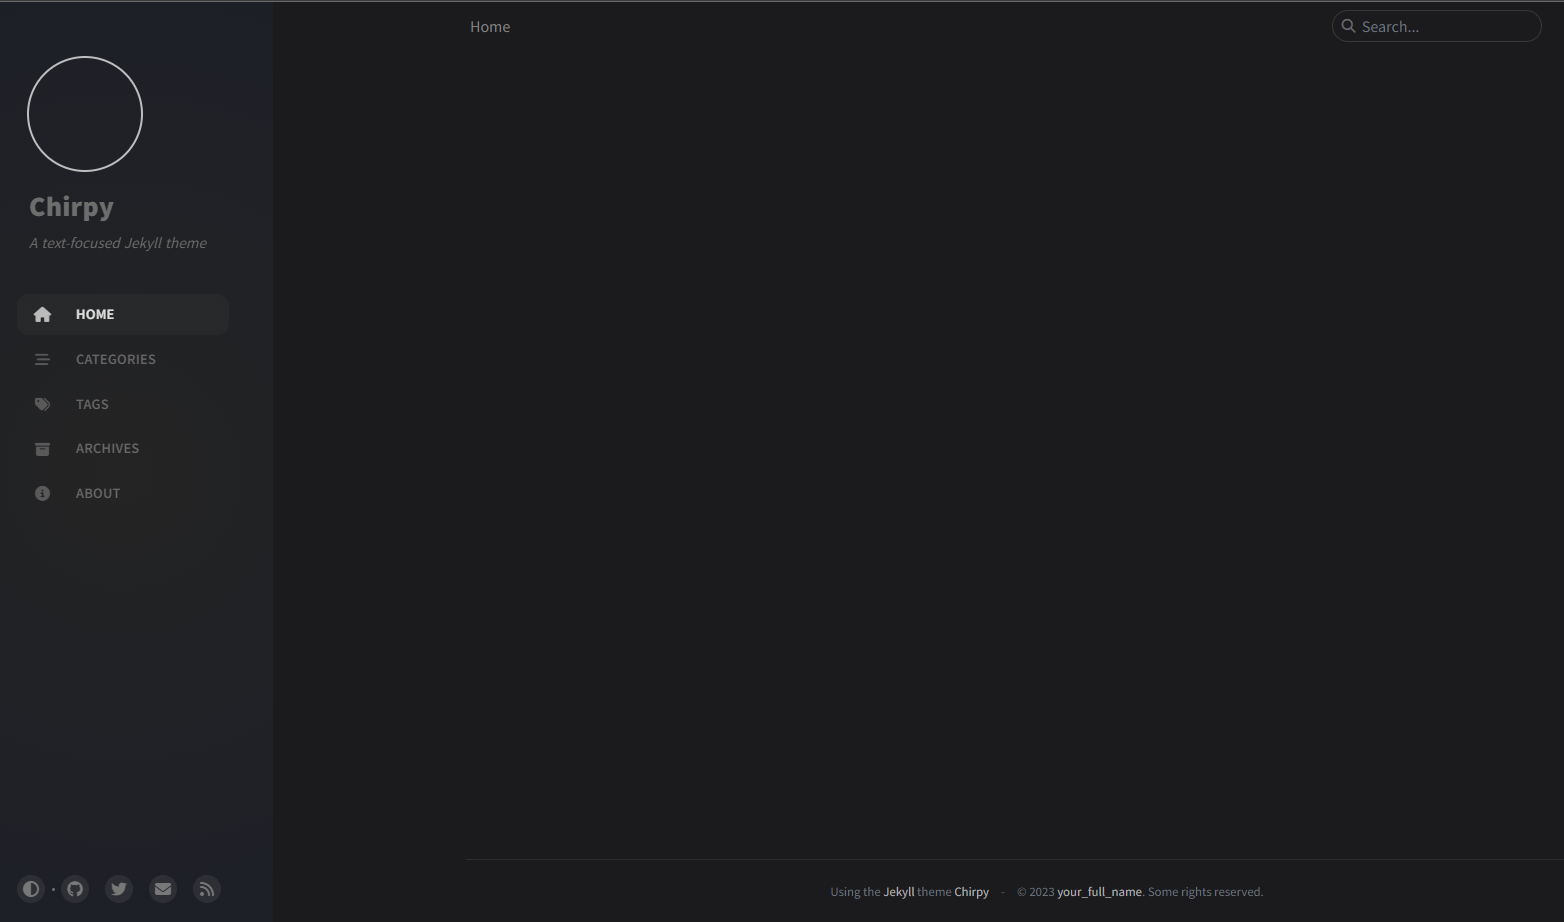 The empty template you should see
If you face any issues, you can refer to the Chripy theme’s Getting started guide.
You need to visit one of the domain name registrar to buy a custom domain. There are multiple registrars to choose from:
After you purchase your domain, go into your domain management portal, click on manage DNS and add A type DNS records for github pages.
| Type | Data |
|---|---|
| A | 185.199.108.153 |
| A | 185.199.109.153 |
| A | 185.199.110.153 |
| A | 185.199.111.153 |
| CNAME | gh-username.github.io |
(These A type DNS records map your domain name to the Github’s IP address)
So far, my DNS record looks like this:
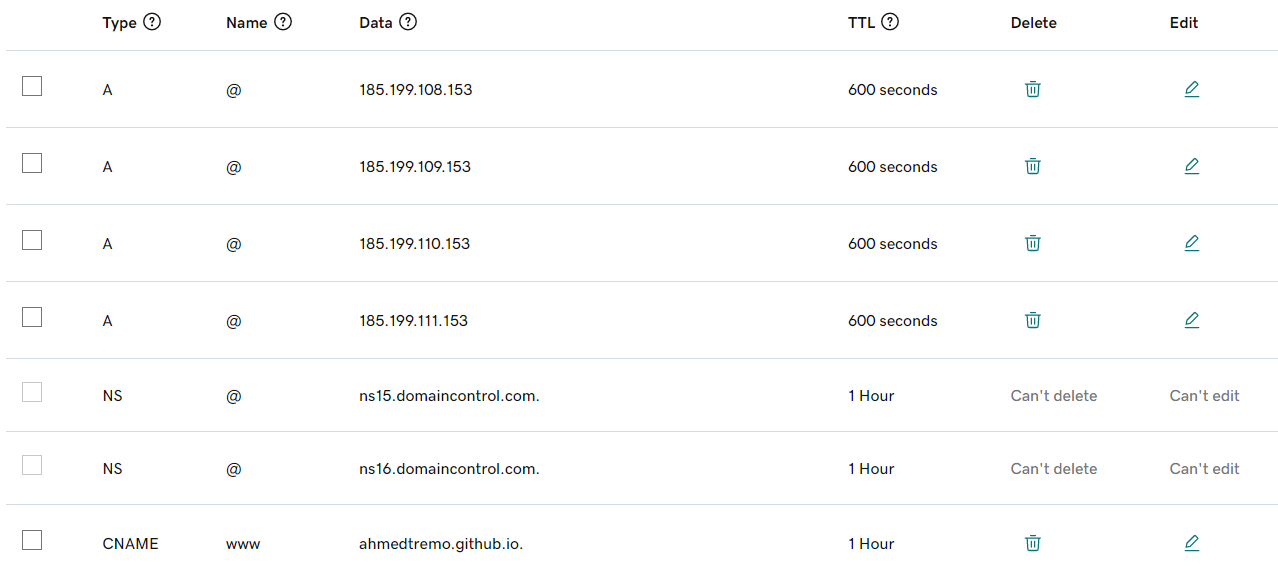 My GoDaddy’s DNS records
Now that you have your domain’s DNS setup, Let’s head back to Github and configure your Github Pages to use your custom domain.
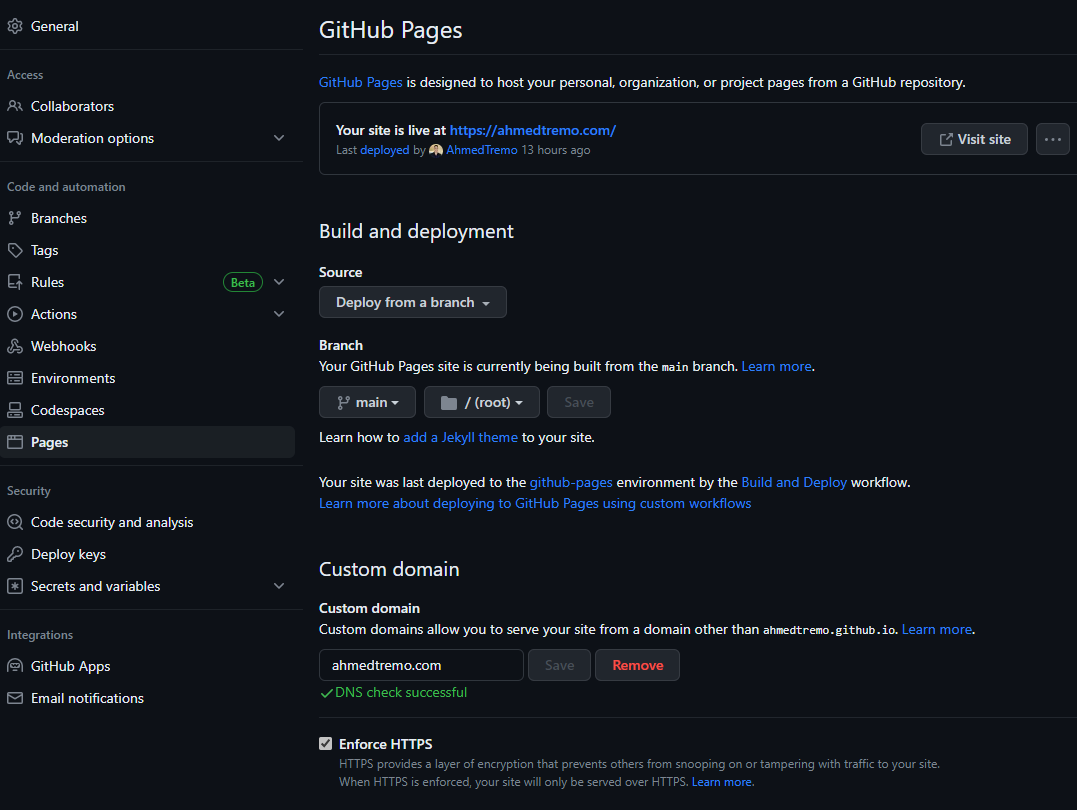 My Github Pages Custom Domain page
Best Practice : Click on Enforce HTTPS to serve your blog via secure SSL connection. Your site will be configured with a free SSL certificate from Let’s Encrypt.
If you see a 404 error or Domain Not Found error your DNS record might not be updated. Every time you update a DNS record, it takes few mins to several hours to propagate the WWW. So, give it sometime. To see if your domain is reachable, you could dig the DNS:
1
$ dig YOUR-DOMAIN.COM +noall +answer
Here is a reference from digging my website:
1
2
3
4
5
$ dig ahmedtremo.com +noall +answer
ahmedtremo.com.    0    IN    A    185.199.111.153
ahmedtremo.com.    0    IN    A    185.199.109.153
ahmedtremo.com.    0    IN    A    185.199.110.153
ahmedtremo.com.    0    IN    A    185.199.108.153
Hope you found this article useful. If you have any questions, you can check my blog’s repo on Github or feel free to reach out to me on Twitter or LinkedIn.